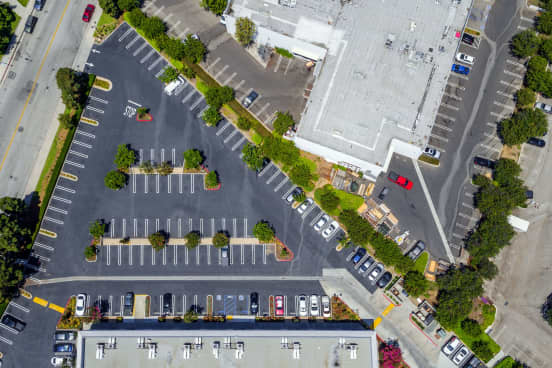
Designated pickups
Mapping out your site to simplify complicated pickups, including buildings with multiple entrances
The benefits of designated pickups
Simplify complex pickups
Create different pickup points for multiple entrances at the same address. You can distinguish, for example, between a main entrance and an emergency entrance at a hospital, or between a service entrance and a sales entrance at an auto dealership.
Create custom messaging
For each pickup spot, create prewritten directions that will automatically be sent to riders and drivers. You can write a different message for riders and drivers if you’d like.
Use for all riders
The pickup spots you create will apply to pickups for trips through Uber Health and Central, as well as for any other riders using their personal Uber app.
Smart pickups in the dashboard
When your ride coordinators enter an address or drag the pin within a defined area in the Uber Health and Central dashboards, they’ll be asked to choose from a list of preset options that you can customise.
1. Select a pickup location
The coordinator enters an address or drags the pin within a defined area.
2. Choose a subzone (optional)
Optional: selections can also include subzones of pickup points.
For example, a specific building or tower within a complex might be its own selection, each with its own menu of pickup points.
3. Choose a pickup point
They choose from a list of preset options.
4. Customise instructions
For each pickup point a coordinator can choose from, you can customise pickup instructions for both the driver and the rider that are sent automatically.
How to create pick-up points
Follow the steps here and we'll help you decide if designated pickups or another solution are right for you.
1. Provide a map of the pickup zone
Provide a map of your site that shows the borders for the pickup zone. Anyone who requests inside these borders will have to pick from one of the defined spots.
2. Decide if you want a submenu of options
Anyone who selects a subzone will be shown a new selection of pickup points. Provide:
- A map showing the border of each subzone
- The name of each subzone
3. Provide information for each pickup
For each pickup spot, be sure to include:
- The name of the spot
- Latitude and longitude
- Optional: rider wayfinding instructions (160 characters max)
- Optional: driver wayfinding instructions (40 characters max)
Let us know if any of these are specific wheelchair pickup points.
Tips for driver and rider wayfinding notes
Your messages go to the rider and driver to help them find the right pickup spot. We’ll help you write them, but here are a few tips to say what you need to in a small space:
- Assume unfamiliarity: imagine that the rider or driver has never been there before
- Point people in the correct direction: note landmarks that are easily identifiable
- Add signage: include names exactly as they appear on signs, where possible
Who we serve
Resources


